Door Info
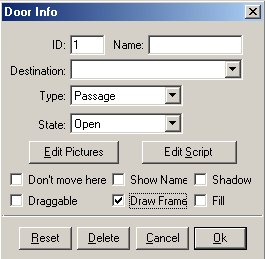
When you double click on the new door you just made, this is the screen that pops up. There are
different "types" of doors that Im going to explain to you.
First is the "Normal Door" thats not really a door
but a "spot" thats used to run
scripts.
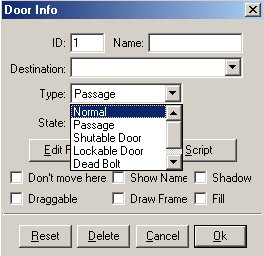
-----Passage Door-----
This allows people to simply pass between
rooms. Allowing a door to remain as a passage makes it visible to
members whereas "normal" will
hide the door from view. Normal is great
for hiding things in a room on a quest where they have to click around to
find the door since they
cant "see"
it.

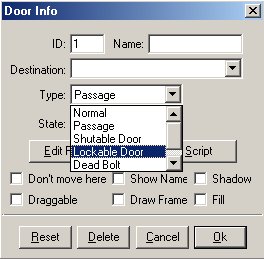
-----Lockable Door-----
Can be unlocked or locked. When unlocked and
open, it allows members to pass through.
Use this when you want to
prevent membersfrom entering private
rooms.
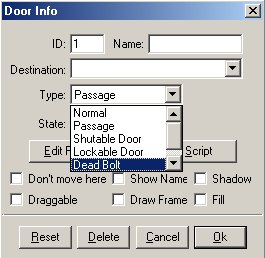
-----Dead Bolt Door-----
This door simply locks and unlocks a
doorway.
-----Nav Area Door-----
This one is like fly paper. When a member lands
on it, they can't leave unless they
click on another
doorway.

If
"Dont move
here" is checked, members will
not move onto the spot when they click on
it.

"Draggable" is not functional in either the Mac or Win
versions.
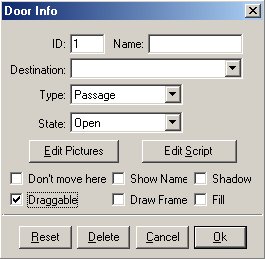
At the top where it says "Name:"
you can name the door something so that people will
know where you are
sending them. By
checking the "Show Name", they will be able
to see what you named
it.

Select
"Draw
Frame" to have the doorway
displayed as a thin black line at all
times.
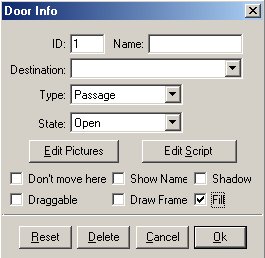
"Shadow" and "Fill" are not functional in either the Mac or
Win
versions.

-Destination:
You can choose which room you want
this
door to send members to when they click on
it.

If you double click on the new door
you just made, this menu opens up. Now we are going to add pictures
to the door. Select "Edit
Pictures"

And this menu pops open where you can add your pics.
Click
"Add"
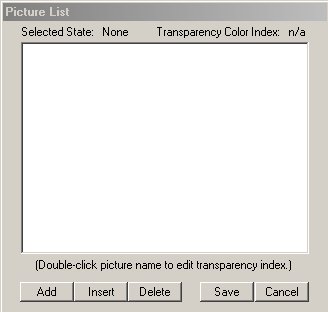
Now you get this menu or
something similar. (yes Im one of those weird people that changed My
Computer to MY computer lol)
You can add a pic one of two ways. Either
just type it in where it says Filename if you know the name of the pic, or
search for it on your
harddrive.

I typed in blank.gif and clicked Open. Now my pic
is there. I clicked add again and typed in one.gif to add that pic to
my door. You can keep doing this until you have a maximum of 16
pics. If you need more pics in your
room, you are going to have to
edit that into your pat file offline. :-(
There is also an insert
option. "Add" adds pics one after the other but "Insert" will let me
add a pic above the one I have highlighted. Thats great
for when you
are trying to add pic1.gif - pic6.gif only to find out that you
forgot
pic4.gif. They have to be in order for an animation script you will be
using soooo just highlight pic5.gif, click "Insert" and type in
pic4.gif. Now
its in there where it belongs.
:-)

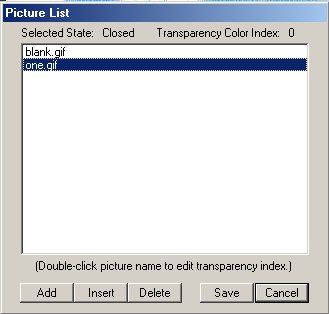
If you double click on a
pic in the door, this menu below appears. If youve created your pic
right in your graphics program and set the transparency for the background so it
wont
show when the pic is installed in palace, then the menu below will have
"Has Transparency
Color" checked and show the Index of that color.
Some people have captured something
in their palaces to use as a spot pic
and cant understand why the background looks
pixelated. You need to
UNcheck this so you get the full color of the background pic in that
pic. Another example of when you would want it unchecked is if you
take the SB Prop Edit
room in the Scriptbarn. There are 8? spot pics
that will change the background color for
editing. If you install this
script and you click and click away on the menu bar on top and
you see NO
changes, you need to go into every pic and UNcheck this. The whole spot
pic is one color and you want it to show. This being checked is making
that one color transparent
and why you arent seeing
anything.

Click "Save" and youre
DONE!!
The only thing we havent
talked about is Layering. Highlight the door you want to Layer and
click
"Layering".
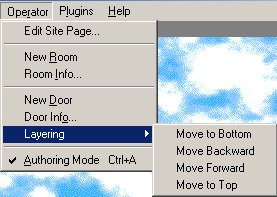
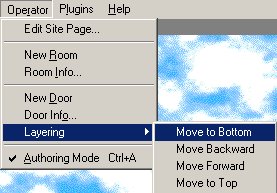
Move to Top and Move to Bottom are
straightforward. It moves the selected door all the way to the bottom
or the
top.

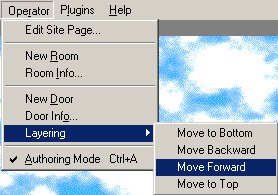
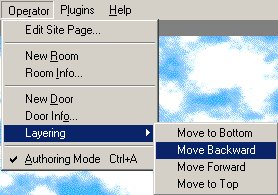
Move Forward or Move
Backward allow you to assign doorway levels. If two or more doors are
in the same spot, it will determine which is on top.
I asked Alissa
about this one because I was confused and couldnt find any documentation on
it. What it basically does is if you have 3 doors, you can
assign door
3 on bottom, door 2 next in the middle, and door 1 on top.
Thanks
Alissa
:-)
|

