|
The Client Prop Edit window
all prop edit secrets revealed
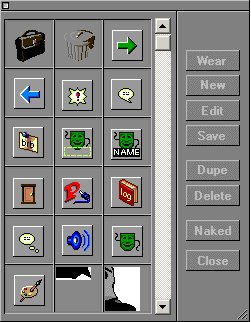
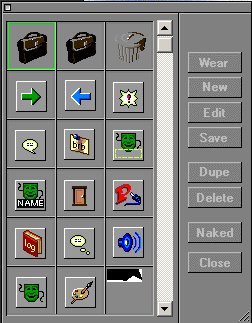
This is
your prop editing screen.
You can highlight a prop and
click "Wear" to dress yourself in it.
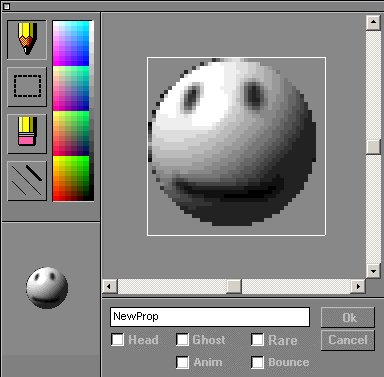
Clicking New will get you
this screen where you can create a whole new prop. You have the
pencil to draw with, the box outline to select just a section to work with
or move around, the eraser, and clicking those black lines will make the
color draw thicker or thinner lines (same if you are
erasing).
You can name your prop where it says NewProp once
you are done. Here is a list of what every feature does, click the "words" in that menu area and not the boxes for
it to work.
- Head will make the smiley in the background
disappear.
- Ghost will make it transparent.
- Anim is
used if there are multiple pieces to your prop that you want to animate
together. You have to click Anim on all the pieces.
- Bounce is part of Anim, when you dress in a prop with Bounce turned on, your animation will start playing backwards from the bounce prop. In other words it will Bounce back from from the Bounce prop to the first one in your animation. Only usefull with more then 3 prop pieces.
- Rare means its a prop that is YOURS and if
its dropped in the room, no one can take it.
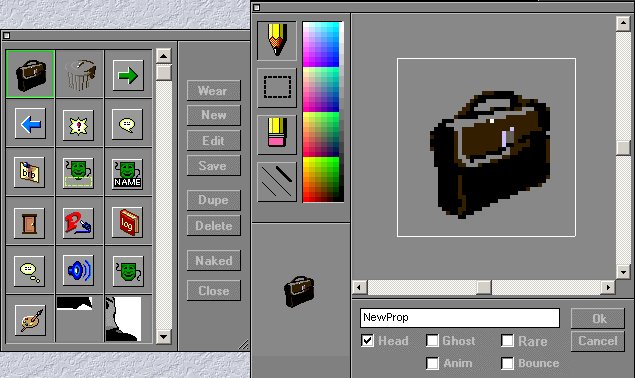
If you highlight the avatar in your propbag and click Edit, this
screen opens up for me to edit it. You can
recolor it or change it anyway you want.
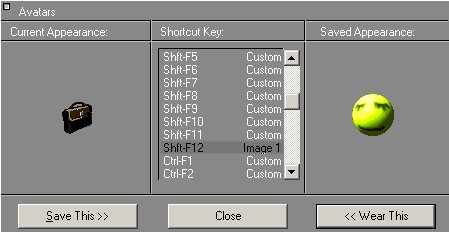
If you
click save, the Macro screen opens asking where
you want to save it to.
If you
click Dupe, it will duplicate the highlighted prop.
This is good
if you are going to edit a prop. Use this feature as a backup in
case you mess
up so the original is
intact.
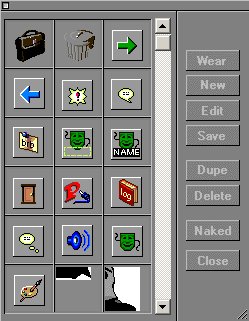
If you highlight a prop and click Delete, it deletes
the highlighted prop from your bag.
Naked
strips you of the avatar you are wearing in palace so you are ready to
put new clothes on
and Close closes this
window.
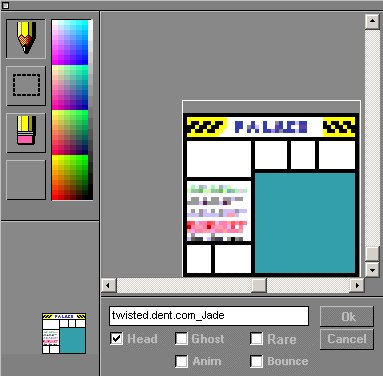
The outlined box just under the pencil is a very handy tools. Lets say you have a
sign that the kids use as ID tags. You have another
one piece prop that represents you and you want to
put your picture in <-------------this sign.
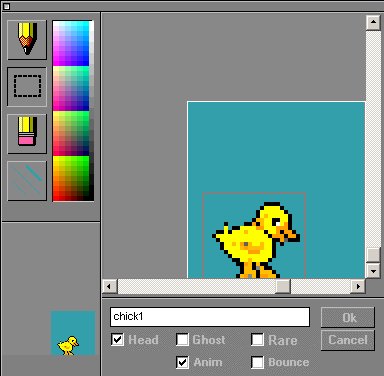
Lets use this chick as an example. First
thing you do is
fill the background with the background color of what your going to be using this in (ID tag above)
and then
clicked the outline tool. Place your mouse at the top left
corner, hold down the left
mouse button and drag an outline around the
chick of as much as you want to put into
the ID tag.
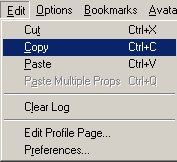
With
that chick highlighted,you click Copy from the Edit menu above.
Now you can close the
chick pic.

Open your ID tag picture.
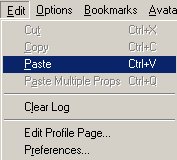
Click Paste from the Edit Menu at the
top.
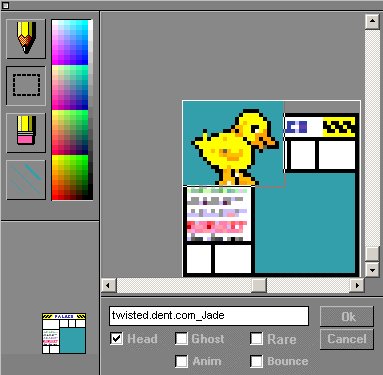
And your chick pic appears in the top left corner waiting to be drag
to the right place on your tag.
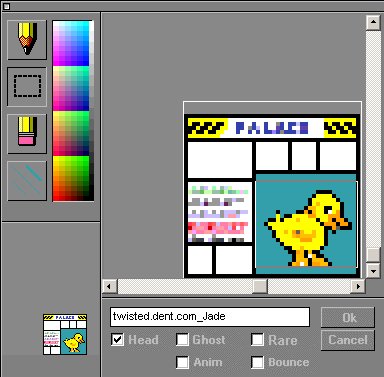
You drag it onto your tag and center it where you want
it.
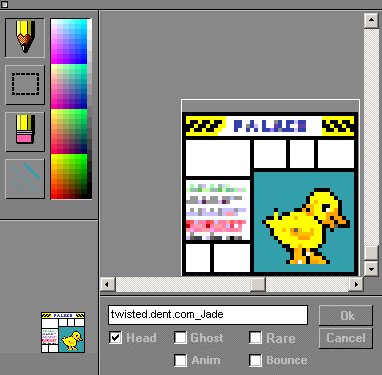
Click the Pencil icon to make the outline
go away, click
OK and you are done with your new ID tag ready to wear.
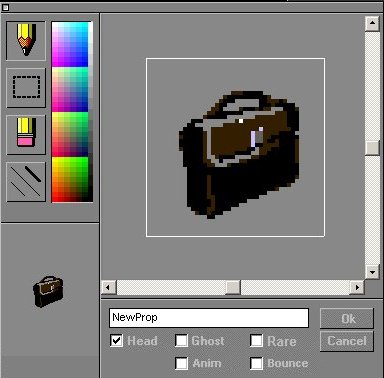
Some final
things that you won't find any documentation: If you open a prop in the edit menu like this
briefcase again. You can....
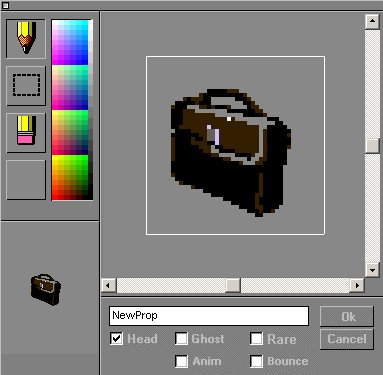
Hold down the Ctrl, Shift, H to flip the prop
horizontally, or....
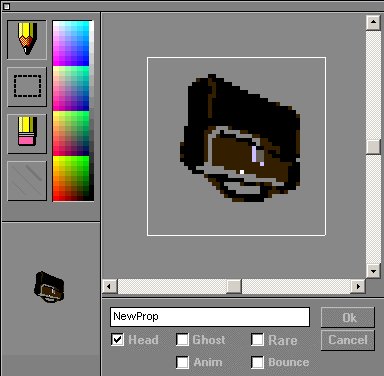
Hold down the Ctrl, Shift, V to flip the prop
vertically.
Holding down the Ctrl key and placing your mouse
anywhere within the pic or on the color tables, turns the cursor into an
eyedropper allowing you to pick up any color you choose by clicking the
left mouse button while over the color you want.
With that color chosen, you can hold down the Alt
key and it turns the cursor into a fill bucket and will fill
the background of this prop with the selected color you
picked up with the eyedropper.
To change the background of your Edit window use the + and - button on your keyboards numberpad: the number buttons on the right side of your keyboard.
Thats it, all the Prop editor window secrets revealed, happy editing. |

